
I have recently moved my hosting across to Dreamhost on their DreamPress 2 package with CloudFlare. First impressions… brilliant. Easy to use, quality built, and best of all, it’s fast. The server response dropped from 1.3 seconds down to 200 milliseconds. The only downfall (if you can even call it that) was the use of Jetpack and CloudFlare on a WordPress site.
I had connection errors, statistic problems, and Jetpack’s publicise plugin would connect to my social networks. I knew there must have been a way to use Jetpack and CloudFlare on a WordPress site, I just needed to find what it was. Below is the answer:
Use Jetpack and CloudFlare on a WordPress site
This is a few steps to follow to configure CloudFlare on your site, before installing the Jetpack plugin
We will be doing the following:
- Create a PageRule to exclude the WordPress dashboard from CloudFlare
- Setting up CloudFlare’s SSL certificate on your site
- Redirect all visitors to HTTPS/SSL with CloudFlare
Create a PageRule to exclude the WordPress dashboard from CloudFlare
This PageRule is to ensure CloudFlare ignores your site’s dashboard. As previously mentioned, it is known to cause issues with Jetpack and CloudFlare on a WordPress site. Thankfully, it isn’t really required for your WordPress dashboard.
1. In your CloudFlare dashboard, go to the PageRules section.
2. In the “Add New Rule” section, enter the following: *yoursite.com/wp-admin*
3. Select the following options:
- Forwarding: Off
- Always use https: Off
- Custom Caching: Bypass Cache
- Browser Cache Expire: 4 hours
- Always Online: Default
- Apps: Off
- Performance: Off
- Security: Off
- SSL: Default
- Security Level: Default
- Browser Integrity Check: Default
4. Save your changes.
Setting up CloudFlare’s SSL certificate on your site
1. Under the Crypto menu, enable on of CloudFlare’s SSL options.
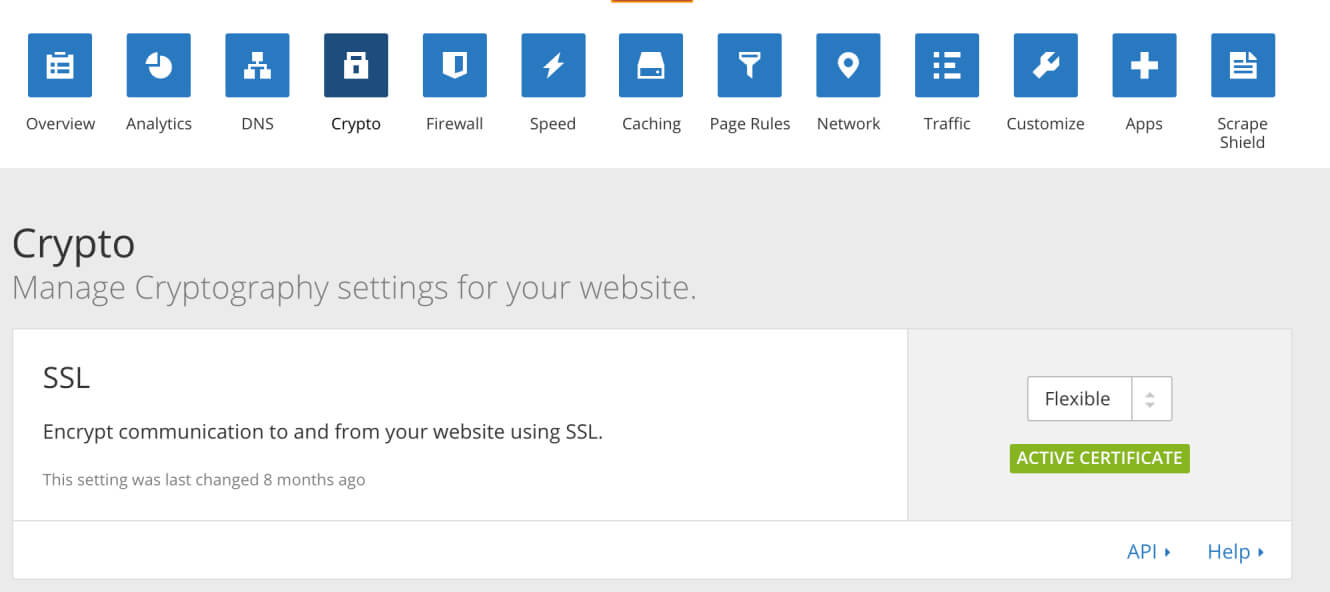
2. Wait for changes to take affect, approximately between 20 minutes and 4 hours.
3. Install and activate the CloudFlare Plugin
4. To avoid running into a loop, install the CloudFlare Flexible SSL Plugin
5. Enable administration over SSL by adding the following code to wp-config.php
/** Admin over SSL */
define('FORCE_SSL_ADMIN', true);

/** Set port to 443 */
$_SERVER['SERVER_PORT'] = 443;
6. In the WordPress admin, under Setting > General, change both your site address and WordPress address to use HTTPS.
7. Wait for changes to take affect, approximately between 20 minutes.
Redirect all visitors to HTTPS/SSL with CloudFlare
1. In your CloudFlare dashboard, go to the PageRules section.
2. In the “Add New Rule” section, enter the following: http://*yoursite.com*
3. Set “Always use HTTPS” to on.
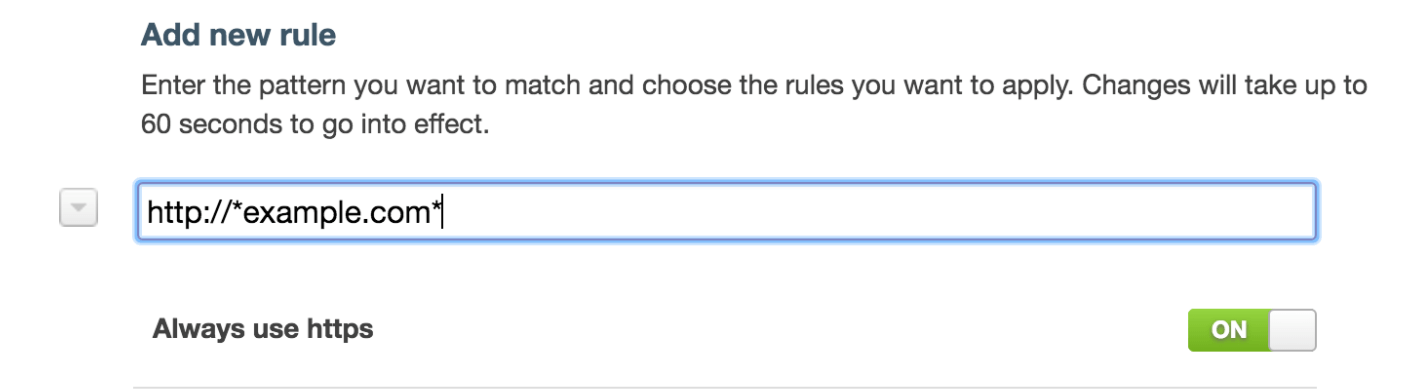
4. Wait for changes to take affect, approximately between 20 minutes.
And thats it. Should be all done and good to use Jetpack and CloudFlare on a WordPress site.